With this project, I wanted to take the opportunity to test myself in both design and manufacturing of a part. As a result, I spent a horrifying amount of time fighting each step of the process just due to inexperience. This said, the satisfaction of a successfully casted and finished part was completely unparalleled.
---
PROCESS

documentation of failures that led to the final form
CONCEPT
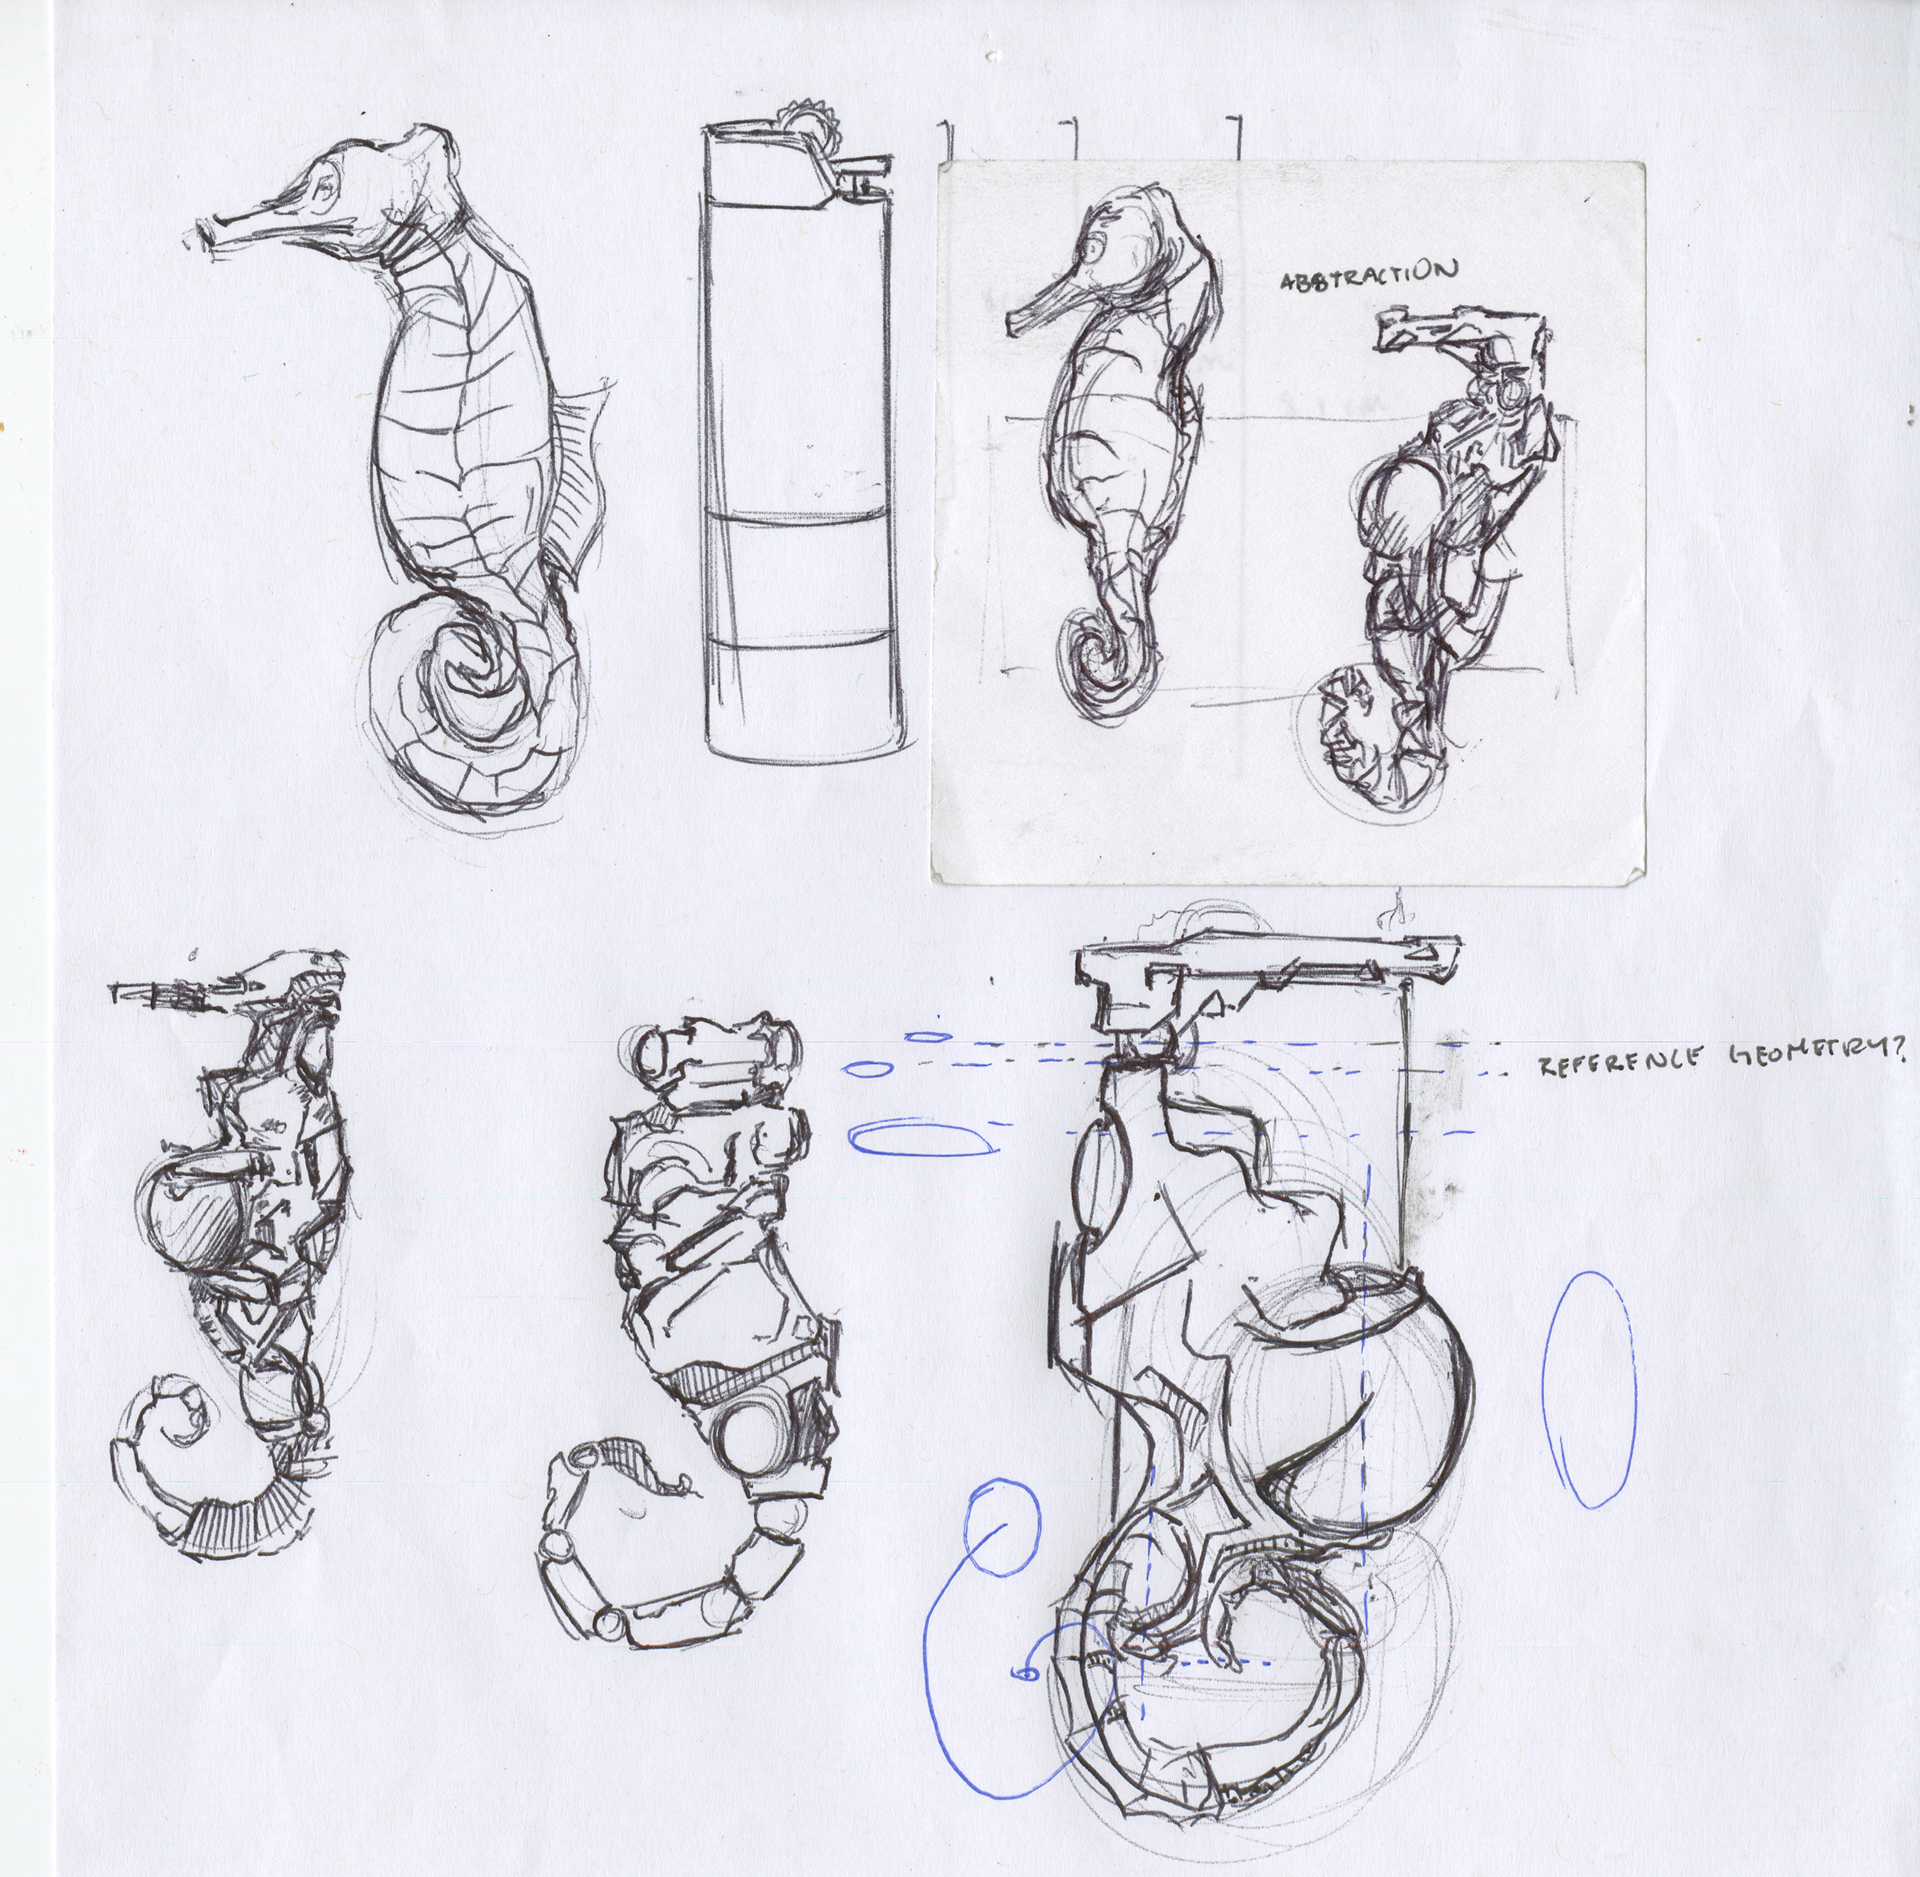
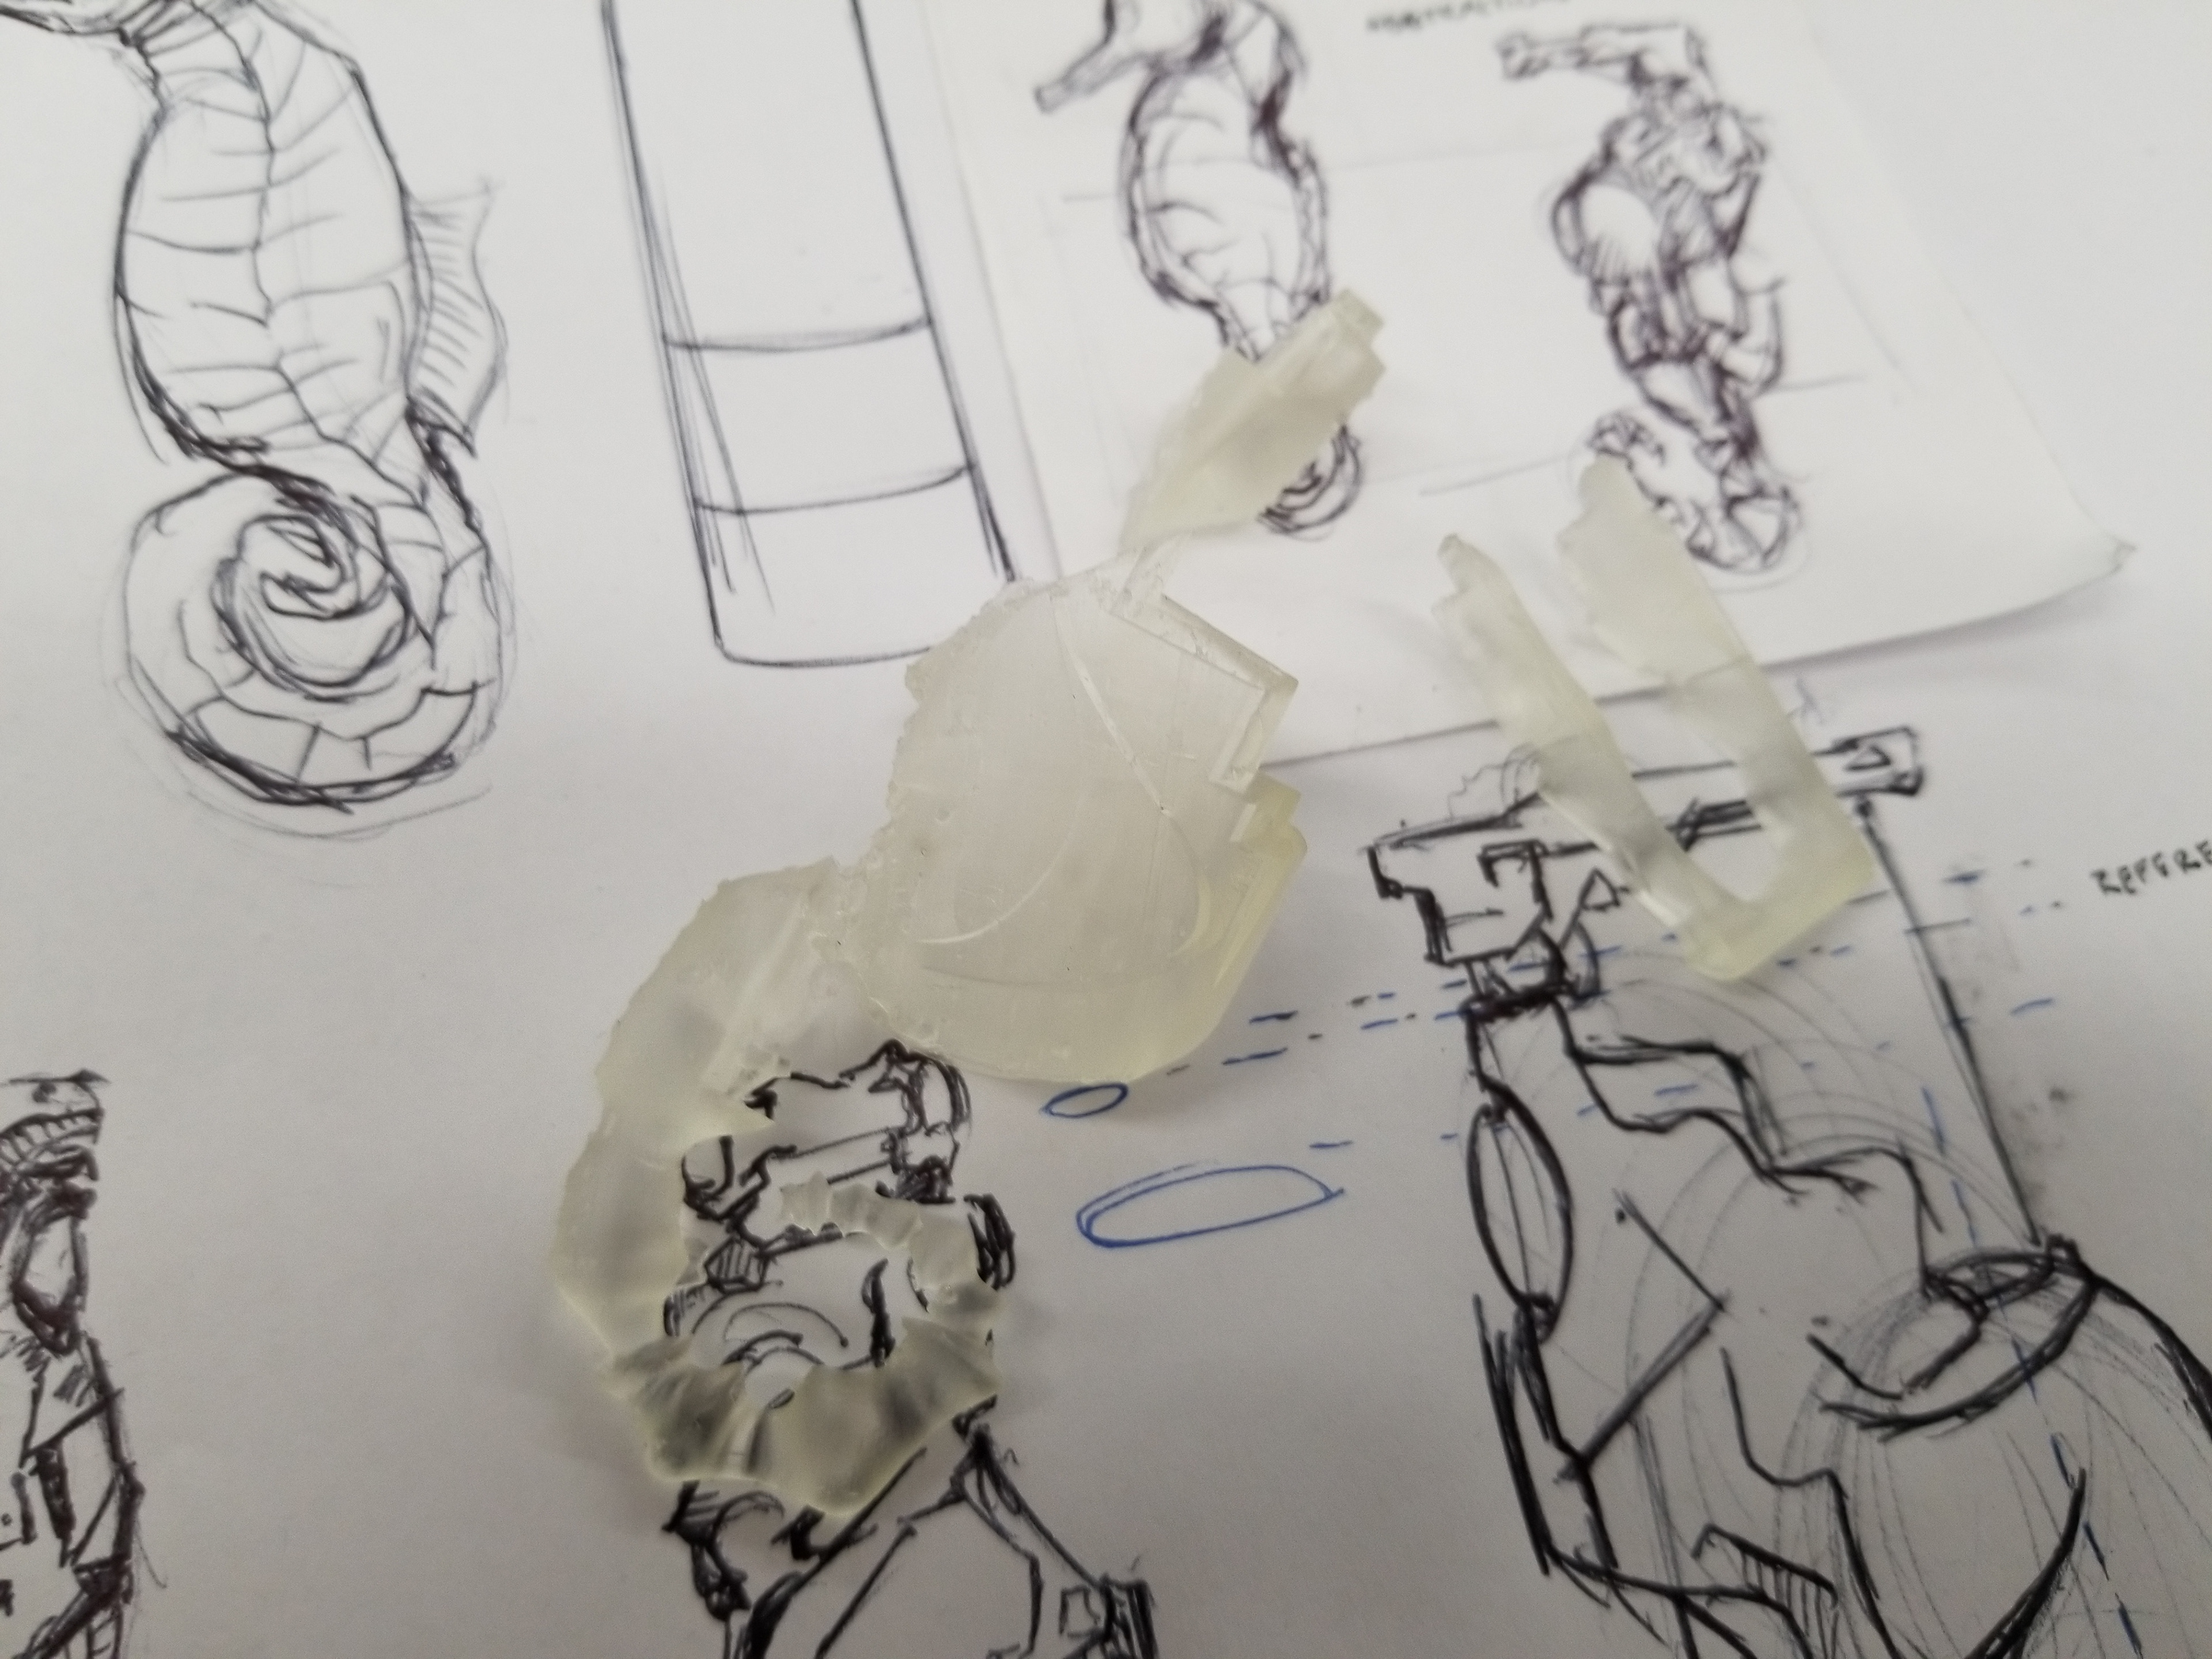
When I began, I knew I wanted to make a sea animal, but as I was sketching, I eventually landed on seahorse and lighter. From there, the project took off.
My challenge was to merge both the visual "identities" of the seahorse and the lighter. I found resolution in the fact that the seahorse itself is a rather orthographic friendly form, thus when it came to merging with the lighter, I could keep parts of it's organic qualities while incorporating the curves and angles of the lighter.
CAD
Before this project, I had a rather surface level understanding of SolidWorks, but I took this as an opportunity to familiarize myself. After about 12 hours, I had fully constructed the "seahorse" from scratch, despite running into issues with surface contours and intersecting profiles. During the process, it dawned on me that perhaps SolidWorks wasn't the ideal program to sculpt such an organic shape, but I learned alot about the program in the process.
PRINT
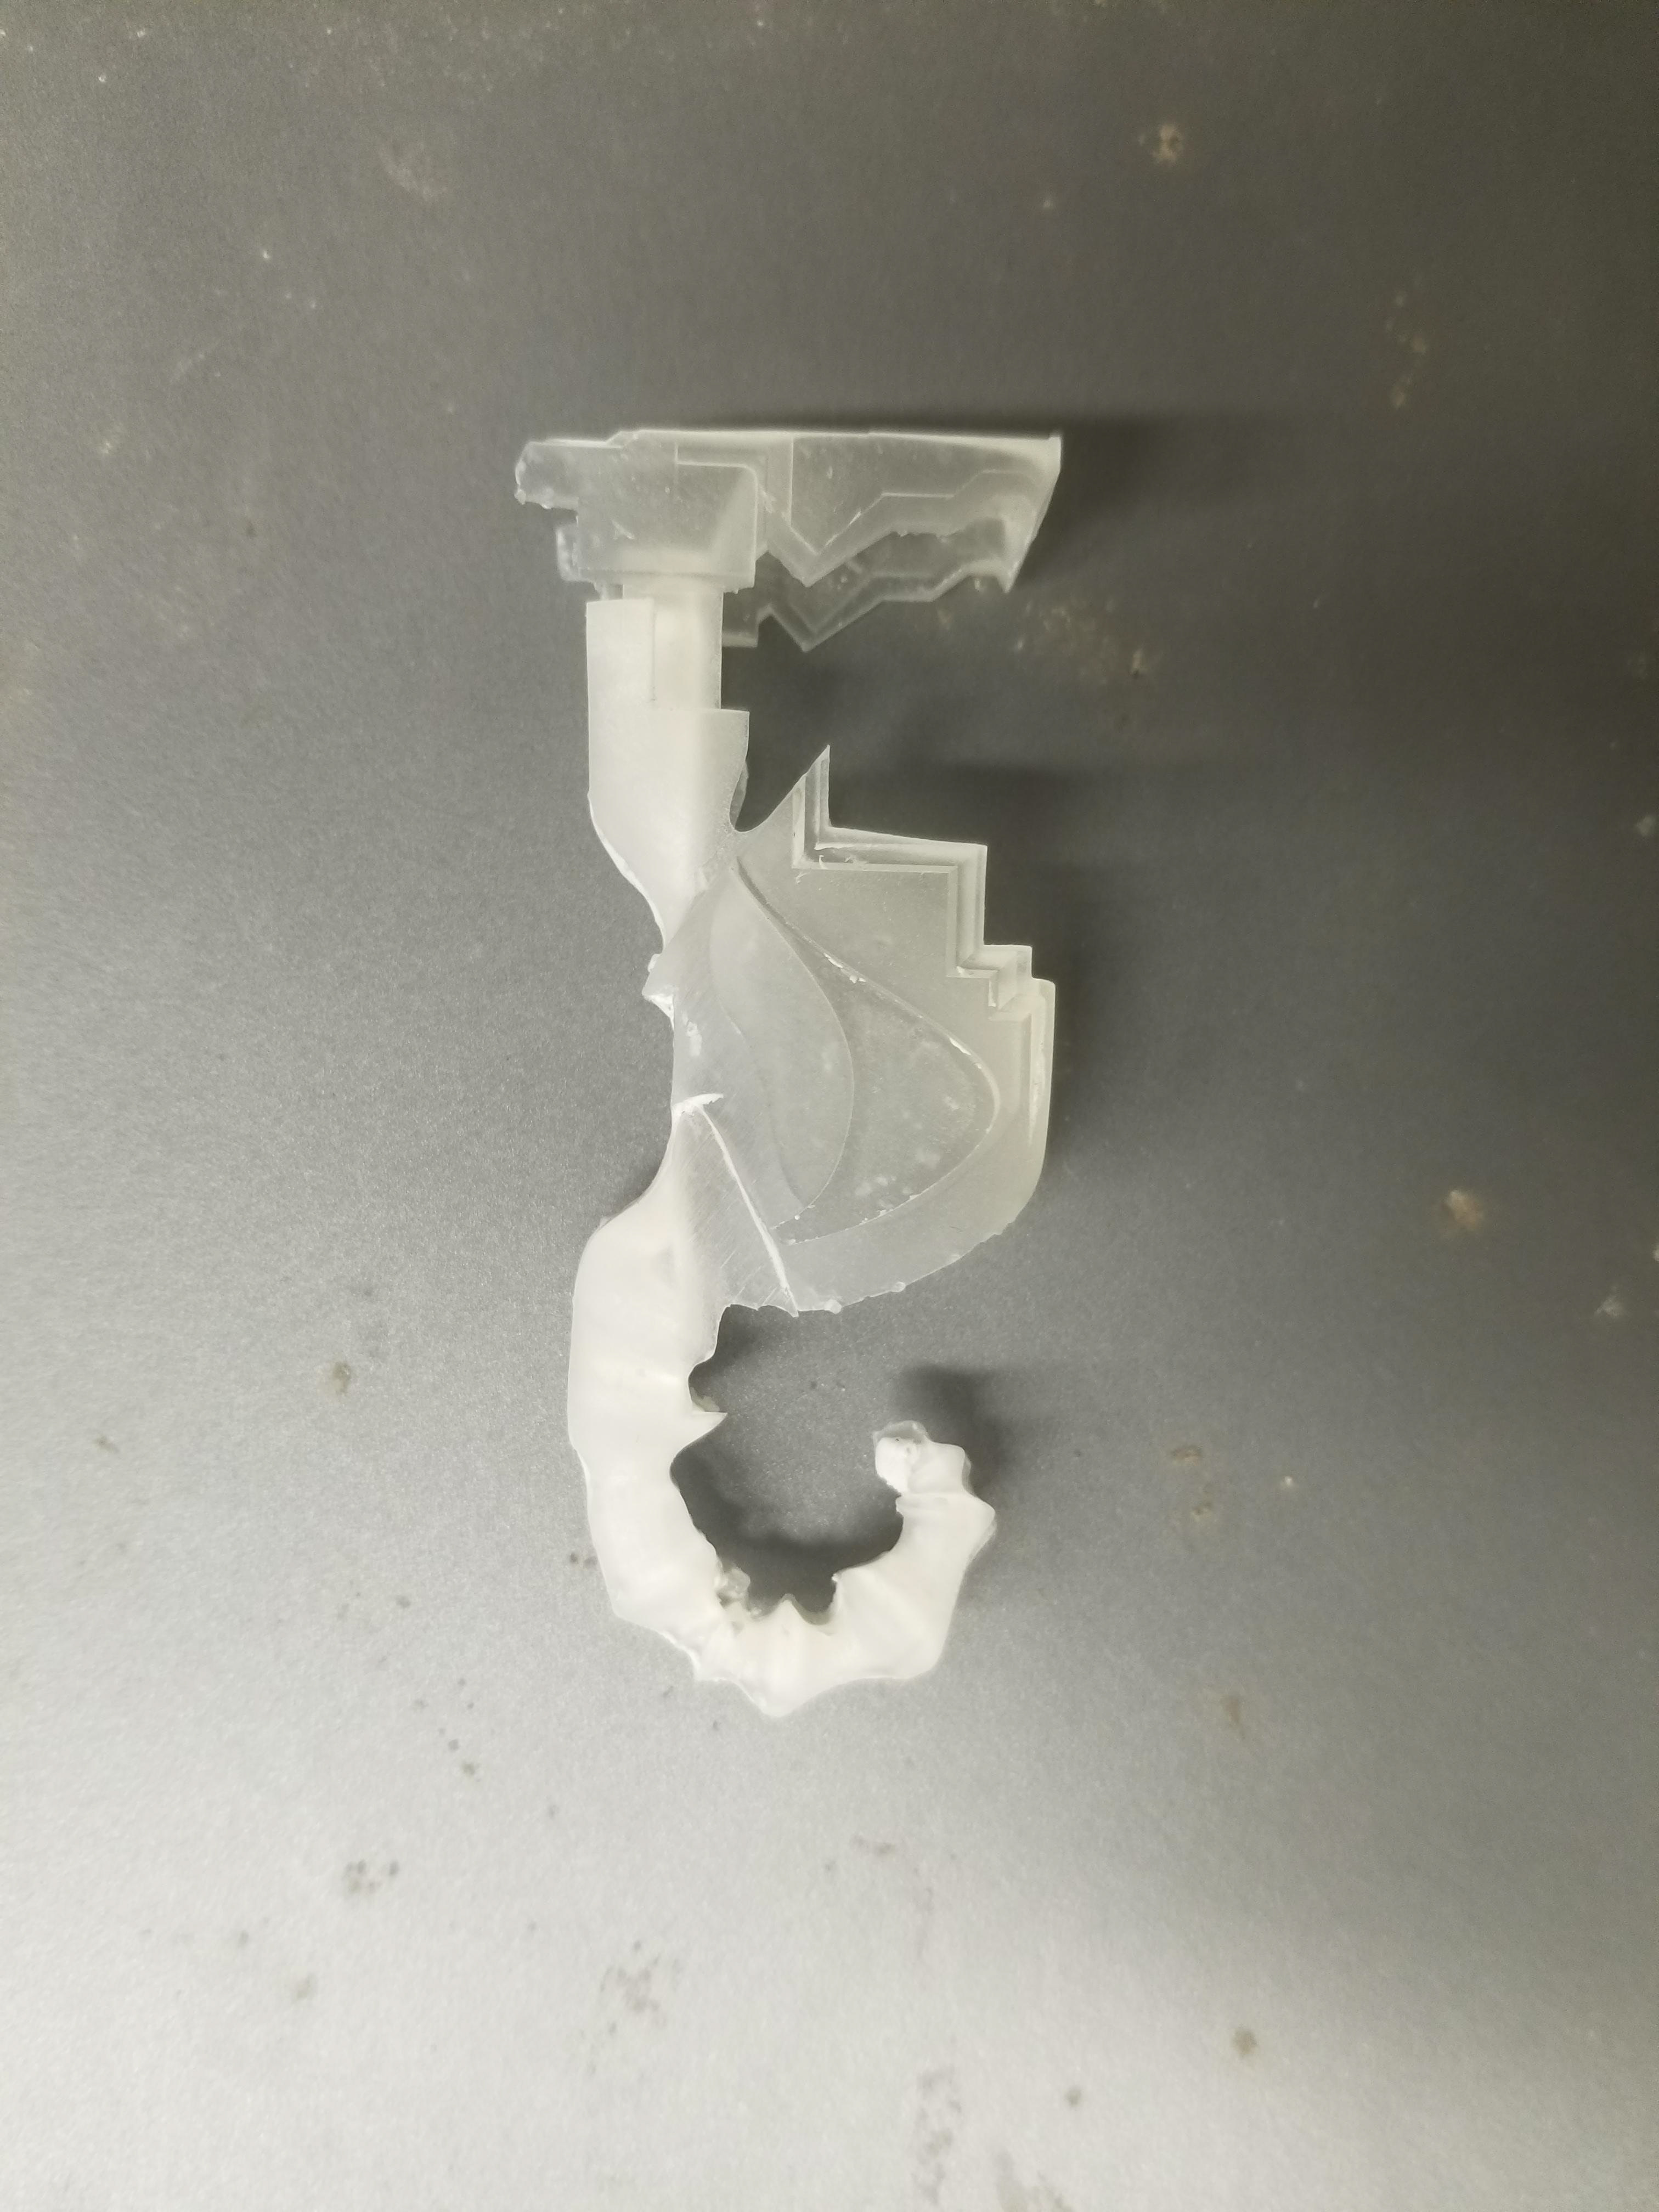
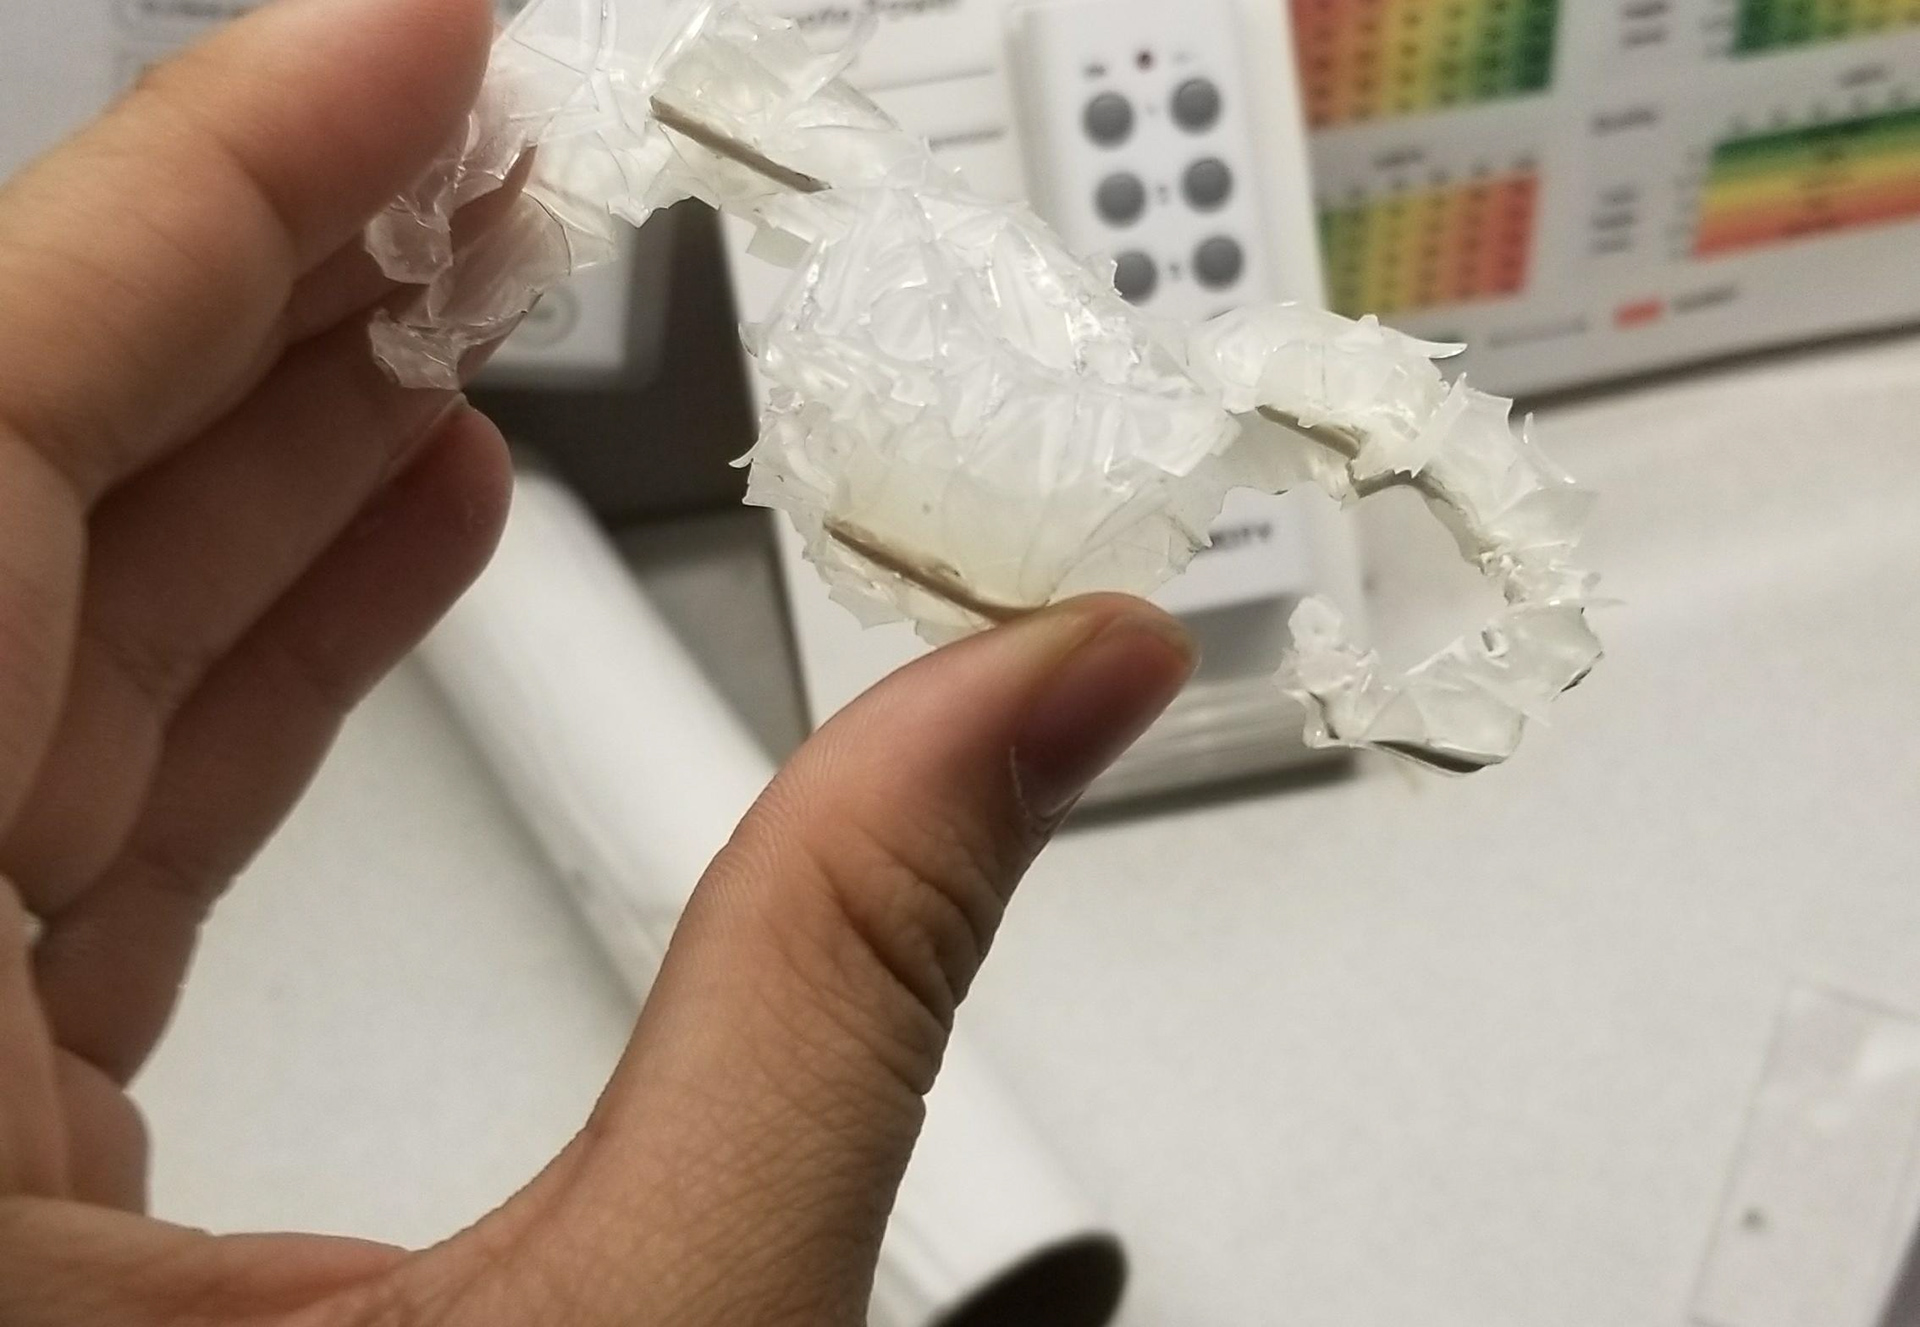

The seahorse itself took several tries to print as my first approach was just to print it as a sleeve after extruding it. I found that if I wanted it to be a sleeve, it would be difficult to sand the supports off the inside of the print (especially because the resin is so brittle).
My next approach was to print it in two parts, but they didn't fit around my lighter. Issues like this kept hitting me-- I decided to print the seahorse with a "lighter" in it, so when it came time to fill the mold, I could fill it with the actual lighter inside.
MOLD
I was by far the most anxious about this part of the process solely because I was waiting at 6 hour periods at a time, unsure if the print would come out.
With my original approach with the two part 3D print, I ran into some problems with my mold in that the assembly wasn't solid enough to even create a negative to fill with resin. After pivoting my approach, I was able to create a much more successful mold.

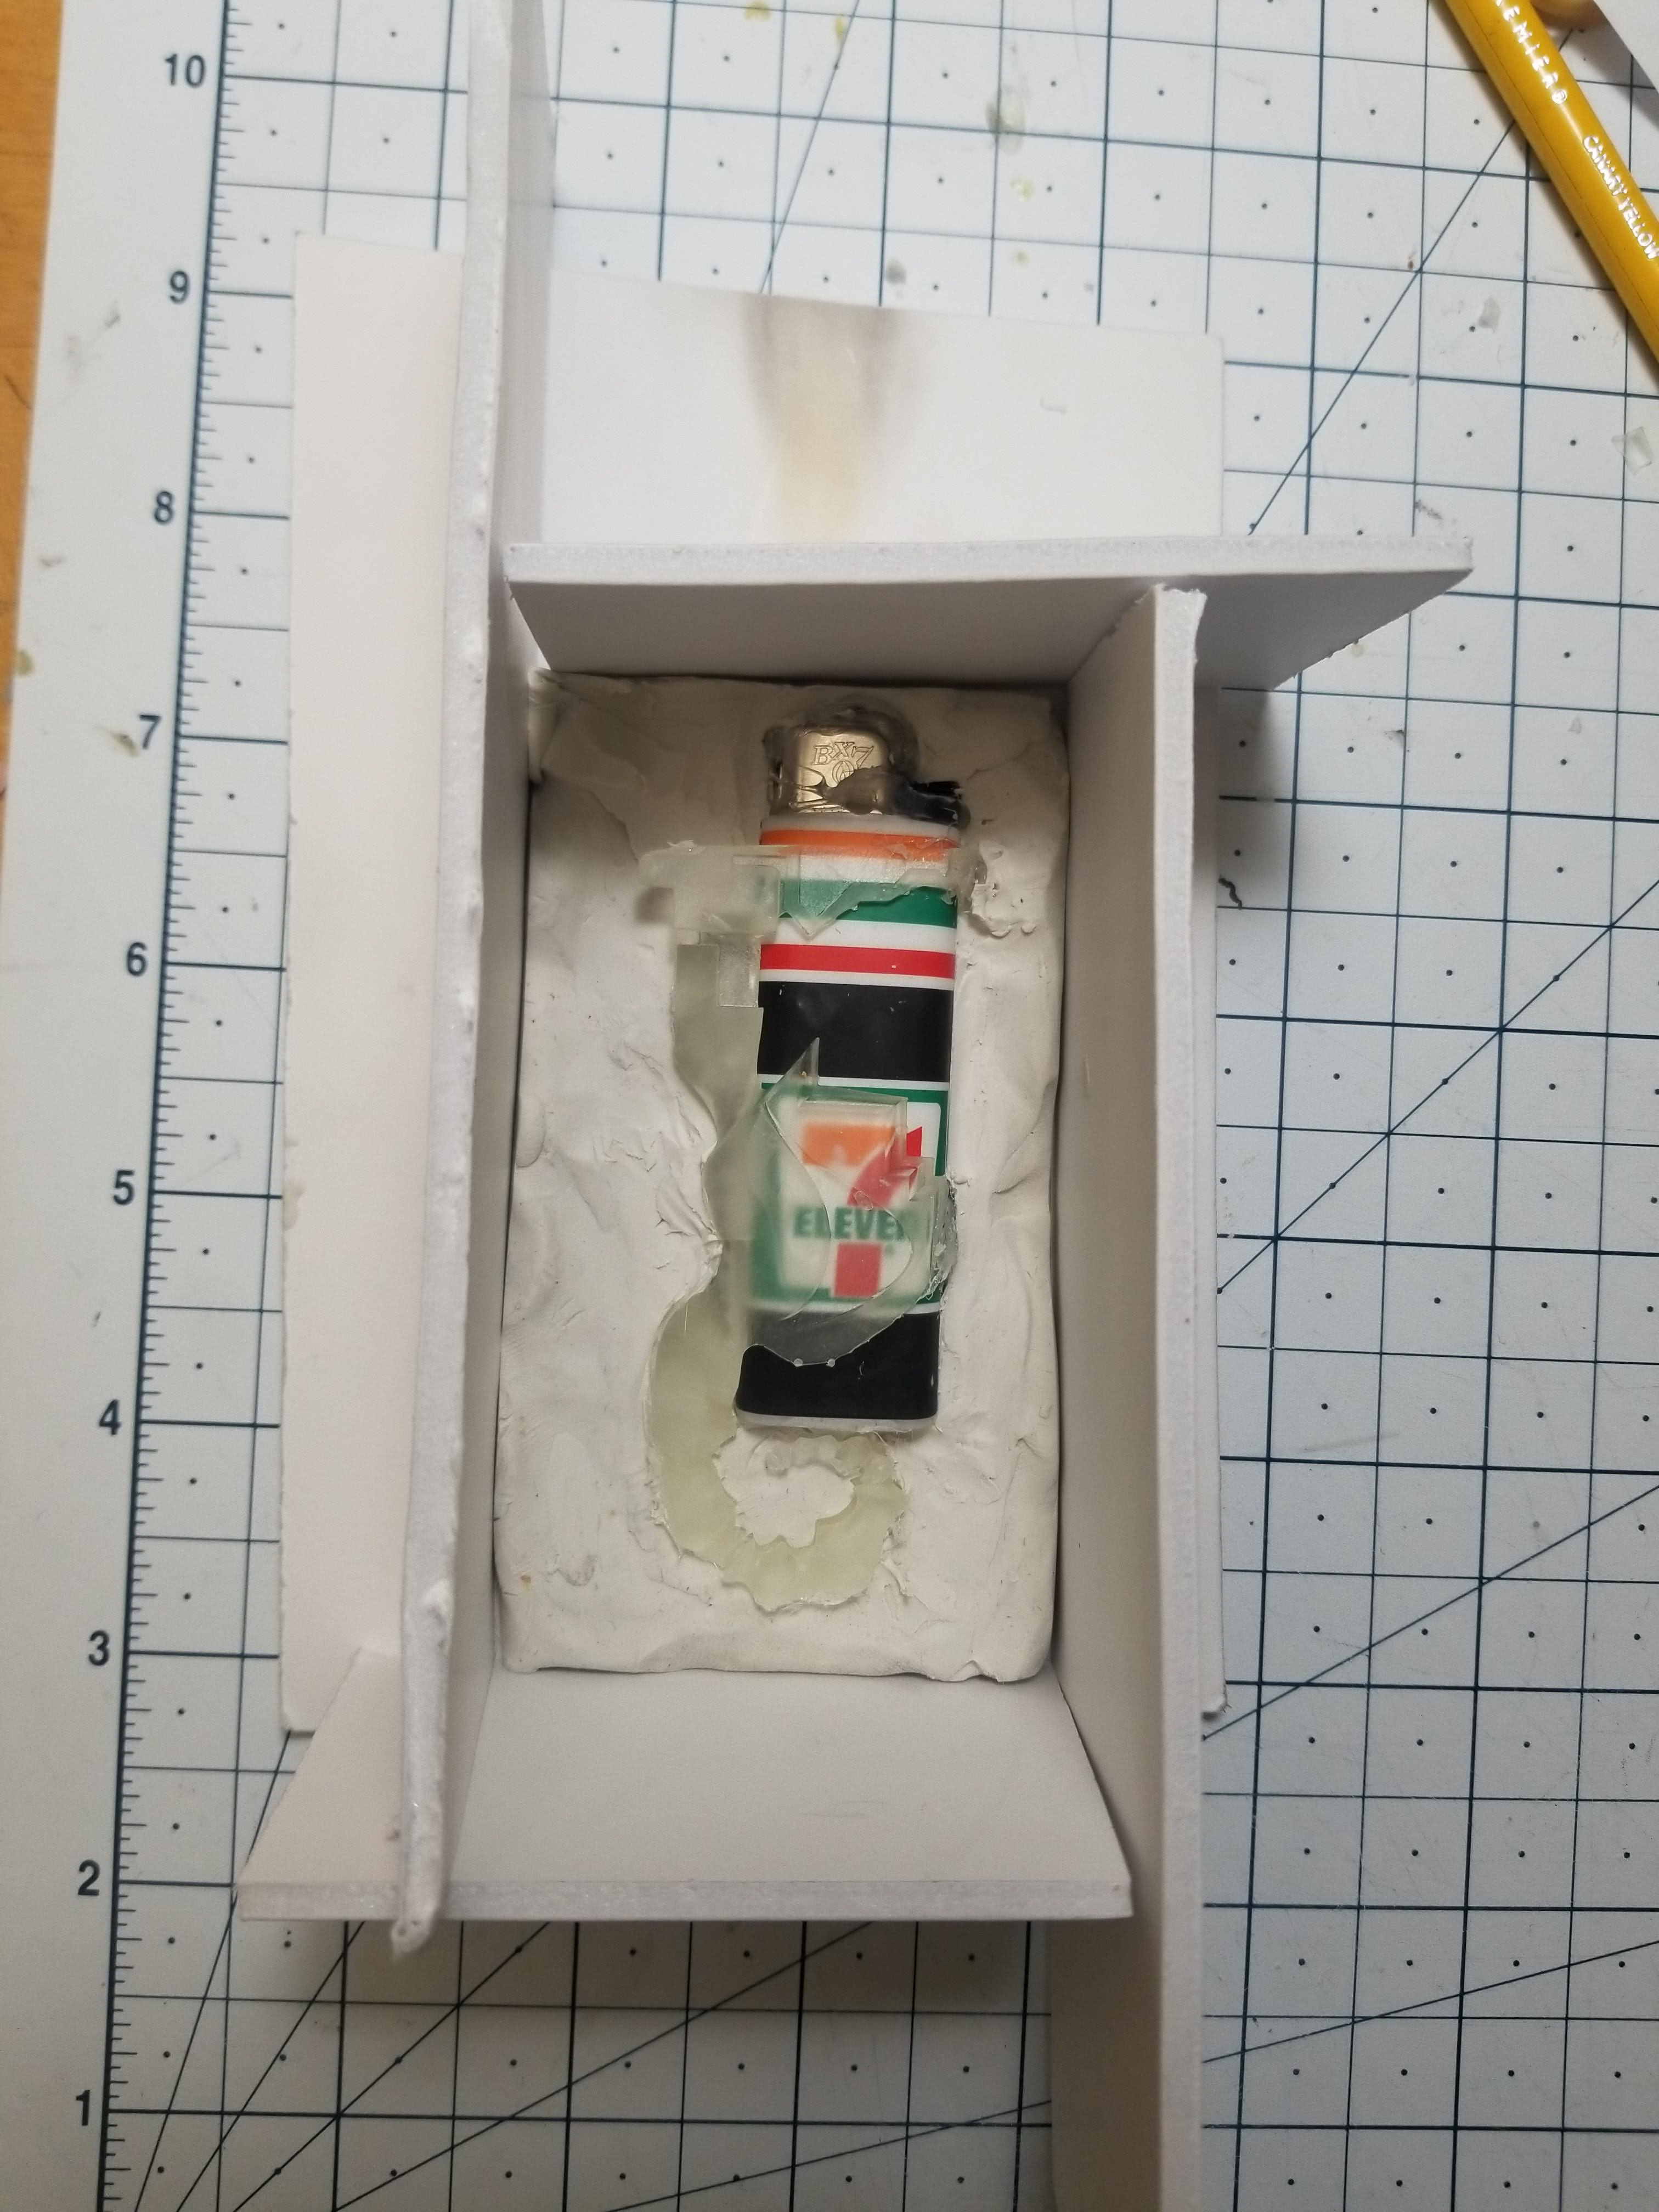
After establishing a strategy and technique when approaching pouring the mold, I poured about a dozen more experimenting with resin and the lighter specifically.
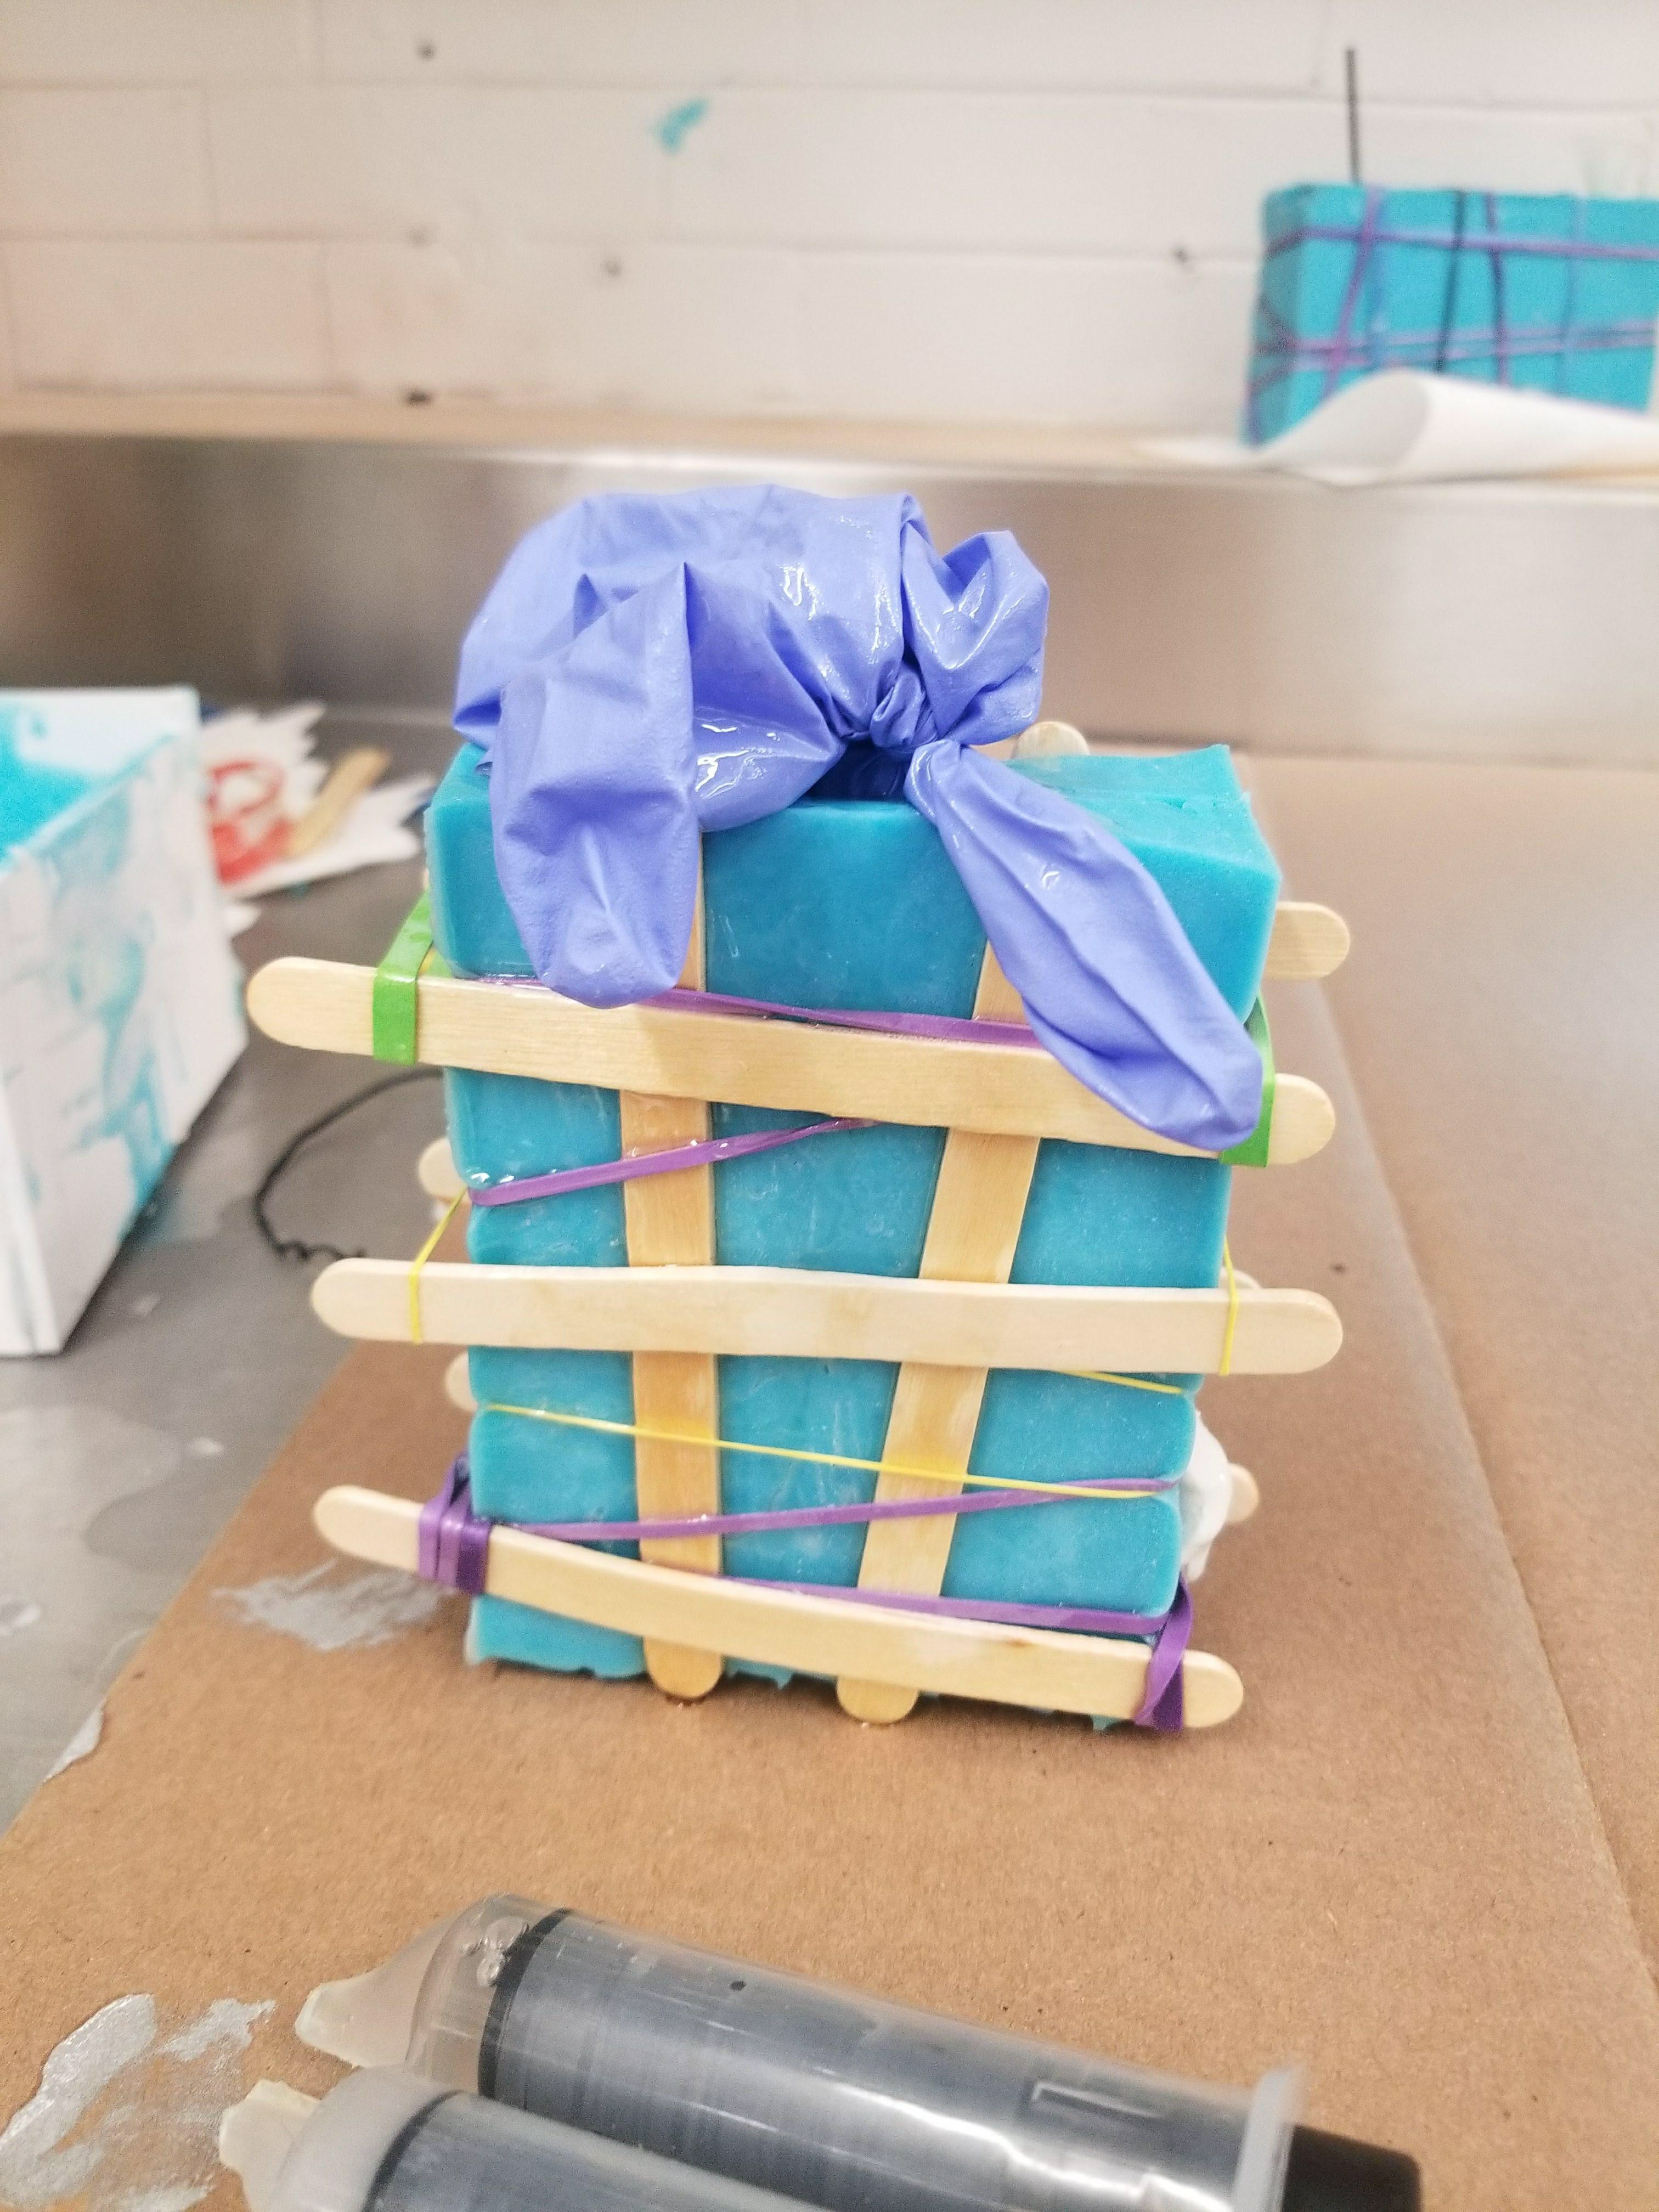
My final challenge was figuring out how to release the lighter from the mold once it had hardened. In past iterations, the lighter essentially fused to the resin and it was hopeless to try and use it-- let alone, get it out. As I was waiting for my mold to harden, I realized that hardened resin doesn't really stick to the latex gloves. So I came up with a solution where I drenched the lighter in lubricant and then stretched the finger of a latex glove over it and then coated the combo in mold-release. To my absolute delight, this proved to be effective in releasing the lighter from the mold. I poured two more molds with this technique and one of them came out perfectly.
FINAL THOUGHTS


While I probably overcomplicated this exercise intended to teach the process and application of silicon molding/resin casting, I learned alot about CAD and 3D printing additionally. I found a project I was passionate about and wanted to spend time iterating to completion. This project furthered my fascination with 3D modeling and printing processes, thus I am pursuing it further in my final. This was certainly a challenge both design and manufacturing-wise, but I can't help but feel as I've only scratched the surface.